
Overview
The digital textile printing industry has seen rapid growth over the last decade as more & more users shift towards the digitalization of textile printing. The use of digital printers allows one to inculcate ease, simplicity, fabric performance, consistency, and most importantly an enormous variety of colors in textiles thus making the whole process reliable & cost-effective overall. Several processes come under the umbrella of printing textiles digitally. In this article, we will be mainly discussing the DTF printing process (Direct to Film Printing) process.
Popular Textile Printing Processes –
- Digital Sublimation Printing
- Digital Textile Printing
- Direct To Film Printing
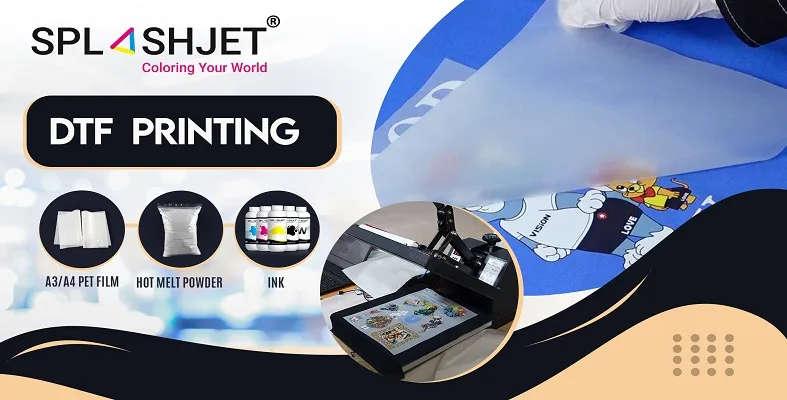
What is DTF Printing?
The DTF process is as simple in its working as its name suggests – Print on a film and directly transfer it onto fabric. The most prominent factor that makes this process worthy of use across a larger number of people is the freedom to choose almost any fabric. Be it polyester, cotton, silk, or synthetic fibers like rayon or terrycot, the DTF printing process will work its magic on them.
Pre-requisites for DTF Printing
The requirements for DTF printing do not demand a heavy investment from the user. Be it, someone who is currently engaged in one of the digital textile printing processes mentioned above and wants to shift to DTF printing as an extension of the business, or someone wanting to venture into digital textile printing starting with DTF, one has to invest in the following –
1. Direct to Film Printer
These printers are often called DTF Modified Printers. These printers are mostly the basic 6 color ink tank printers like Epson L800, L805, L1800, etc. The reason this series of printers is chosen is that these printers work with 6 colors. This provides the convenience of operation as the CMYK DTF inks can go into the standard CMYK tanks whereas the LC and LM tanks of the printer can be filled with White DTF inks. Also, the rollers used to slide the page are removed to prevent the appearance of ‘linings’ on the white layer printed on the DTF film.
2. Films
PET films are used in the DTF printing process. These films are different than those used in screen printing. These have a thickness of around 0.75mm and better transfer characteristics. In the language of the market, these are often referred to as DTF Transfer Films. DTF films are available in the form of Cut Sheets (which can be used for small-scale use) and Rolls (used with a commercial setup). Another classification of the PET films is based on the type of peeling that is done after the transfer. Based on the temperature, the films are either hot-peel type films or cold peel type films
3. Software
The software is an important part of the process. The print characteristics, color performance of the inks, and the final print performance on the fabric after transfer are greatly influenced by the Software. For DTF, one would require specialized RIP software that can handle CMYK and White Colors. The color profiling, ink levels, drop sizes and other factors contributing to an optimized print result are all governed by the DTF Printing software.
4. Hot-melt adhesive Powder
The DTF printing powder is white and acts as an adhesive material that binds the colored pigments in the print to the fibers in the fabric. There are different grades of the DTF hot melt powder that are specified in microns. An appropriate grade should be selected based on requirements.
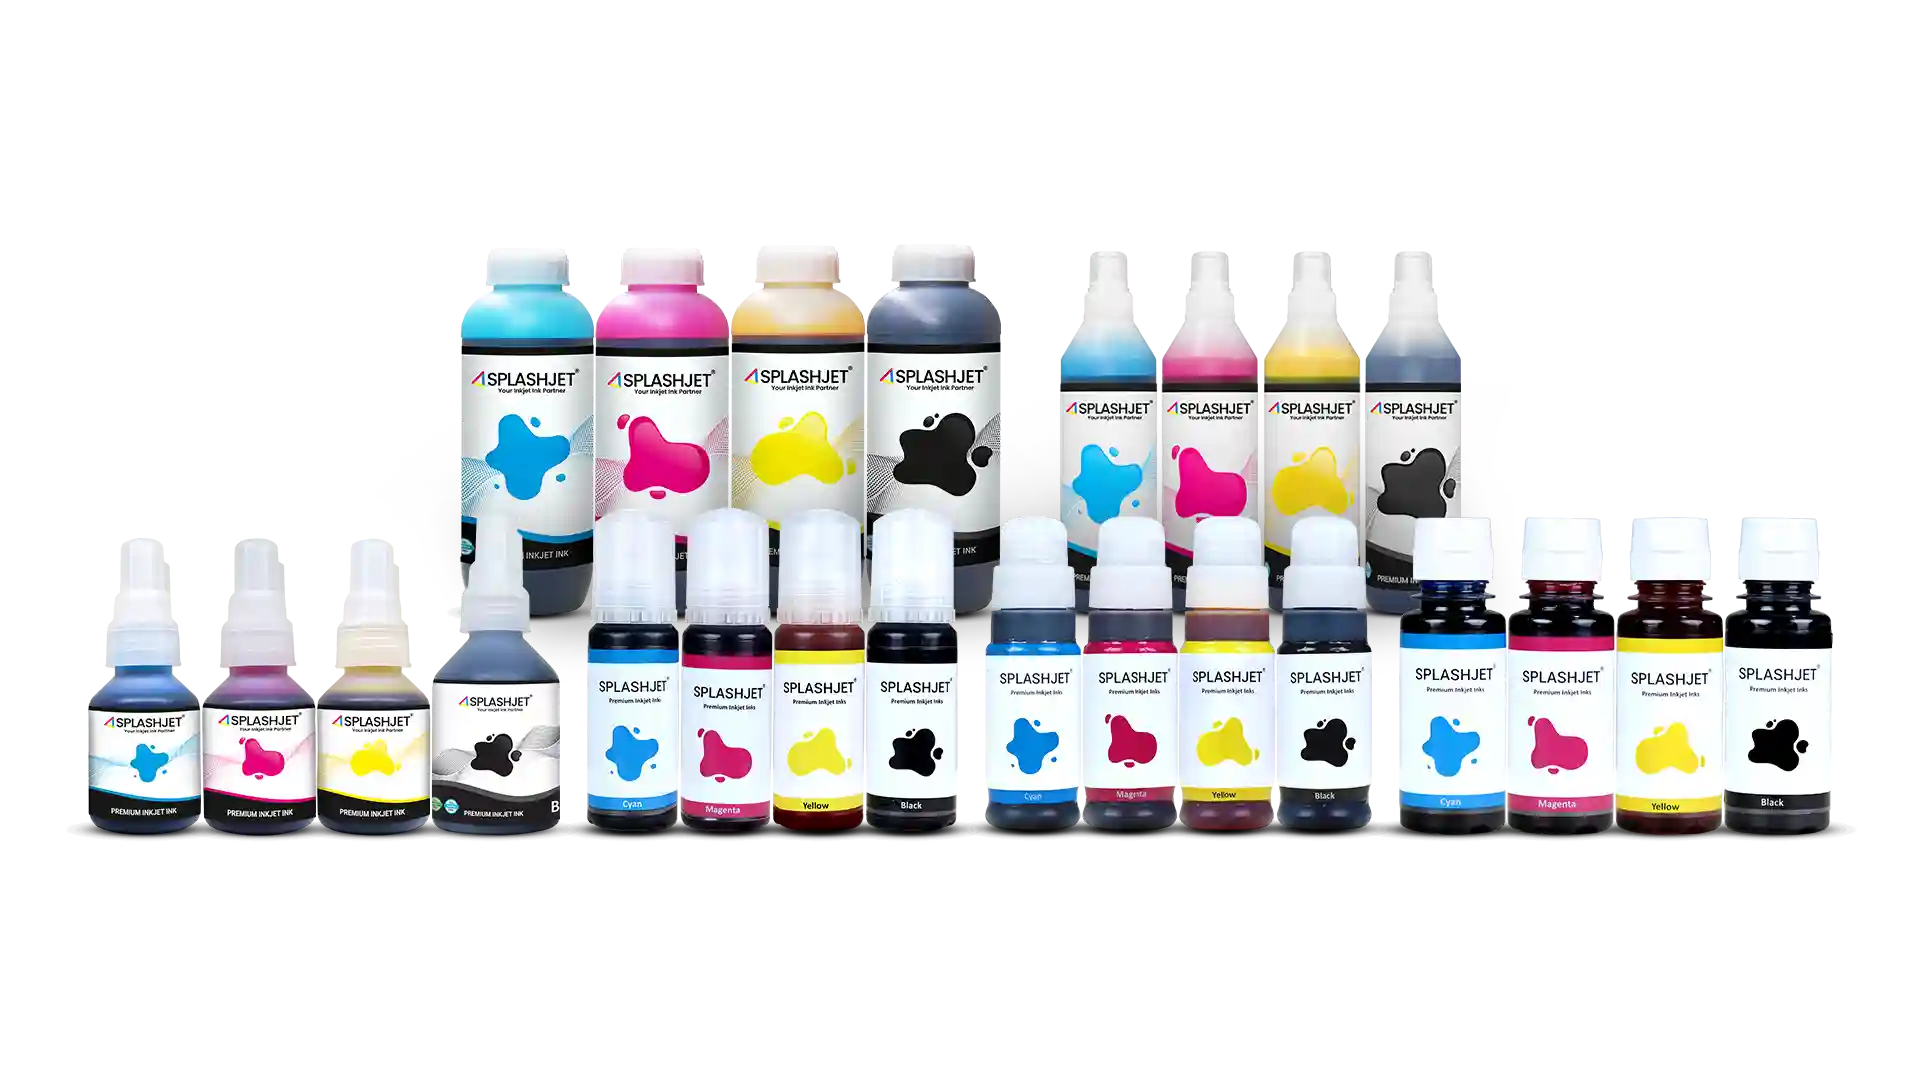
5. DTF Printing Inks
These are specially designed pigment inks available in Cyan, Magenta, Yellow, Black and White colors. The White Ink is a special component that lays out the white foundation of the print on the film and onto which the colored design is printed.
6. Automatic Powder Shaker
The Automatic Powder Shaker is used in commercial DTF setups to apply the powder evenly and also to remove the excess powder.
7. Curing Oven
The curing oven is a small industrial oven that is used to melt the hot melt powder that is applied over the transfer film. Alternatively, a heat press machine can also be used to carry this out but it should be used in no contact mode.
8. Heat Press Machine
The heat press machine is used mainly for transferring the image printed on the film onto the fabric. It can also be used to heat the hot melt powder on the DTF film. The method of doing this is stated in the process detailed below.
Direct to Film Printing (Basic Steps)
Step 1 – Print on Film
Instead of regular paper, insert the PET film into the printer trays. First, print the entire image in white on the PET film. After this, using the appropriate color settings in the printer, print the required image on the white image layer. The important point to remember is that the print on the film must be a mirror image of the actual image that needs to appear on the fabric.
Step 2 – Powdering
This step is the application of hot-melt powder on the film that has the printed image on it. The powder is applied uniformly when the ink is wet and the excess powder needs to be removed carefully. The important thing is to ensure that the powder is evenly spread all over the printed surface on the film.
One very common way to ensure this is to hold the film at its short edges such that its long edges are parallel to the floor (landscape orientation) and pour the powder in the middle of the film from top to bottom such that it forms an approximately 1-inch thick heap in the center from the top to the bottom.
Pick up the film together with the powder and slightly bend it inwards such that it forms a slight U with the concave surface facing oneself. Now rock this film from left to right very lightly such that the powder will slowly and evenly spread all across the surface of the film. Alternately, one can use automated shakers available for commercial setups.
Step 3 – Melting the powder
As in the name, the powder is melted in this step. This can be done in various ways. The most common way is to put the film with the printed image and the applied powder in the Curing Oven and heat. If the curing oven is unavailable, place the film inside the heat press and bring the top of the press very close to the film but not touching it.
There should be around a 4 to 7 mm gap between the film and heat press top plate. One can use a metal wire to fasten the press top such that it does not close over the film and leaves a necessary gap. For best results, it is highly recommended to go by the manufacturer’s specification for powder melting. Depending upon the powder and equipment, the heating is generally done for 2 to 5 minutes with the temperature around 160 to 170 degrees Celsius.
Step 4 – Pre-pressing
The step involves pre-pressing the fabric before the transfer of the image by the film. The fabric is kept in the heat press and pressurized under heat for about 2 to 5 seconds. This is done to flatten the fabric and also ensure de-humidification of the fabric. The pre-pressing helps in the proper transfer of the image from the film onto the fabric.
Step 5 – Transfer
This is the heart of the DTF printing process. The PET film with the image and the melted powder is placed on the pre-pressed fabric in the heat press for a strong adhesion between the film and the fabric. This process is also called ‘curing’. The curing is done at a temperature range of 160 to 170 degrees Celsius for approximately 15 to 20secomds. The film is now firmly attached to the fabric.
Step 6 – Cold Peel
The fabric and the now attached film on it must cool down to room temperature before one pulls the film off. Since the hot melt has a nature similar to amides, as it cools down, it acts as a binder that holds the colored pigment in the inks in firm adhesion with the fibers of the fabric. Once the film is cooled, it must be peeled off the fabric, leaving the required design printed in ink over the fabric.
Step 7 – Post-pressing
This is an optional step but is very highly recommended for best results and high-performance parameters like wash and rub fastness. In this step, the final fabric with the transferred design is pressed in the heat press for around 10 to 15 seconds.
Recommended Read – Which is better dtg or dtf?
Pros and Cons of Direct to Film Printing
Let’s talk a little about the DTF printing pros & cons.
Pros –
- Works with almost all types of fabrics
- Does not require pre-treatment
- The Fabrics thus designed exhibit good wash characteristics.
- The fabric has a very slight hand feel the touch
- The process is faster and less tedious than DTG printing
Cons –
- The feel of the printed areas is slightly affected when compared to that of fabrics designed with Sublimation printing
- As compared to sublimation printing, the color vibrancy is slightly low.
What do we offer?
Splashjet currently offers premium quality DTF inks that are compatible with all popular DTF printers and Epson print-heads such as i3200, 4720, xp600, tx800, dx5, mach1440, etc. These inks showcase an immaculate color and fabric performance.
The Splashjet inks are well-known, especially for their effectiveness in bringing out the most delicate color tones on both light and dark colored fabrics. Special white ensures proper density to the printed colors at optimum ink consumption.
Verdict
Overall one could say that the DTF process practically lifts all restrictions that are commonly encountered in other textile printing processes especially when it comes to choosing the fabric to print on. Since pretreatment is not essential, in many cases, the overall cost of printing is brought down hence offering a higher profit margin.
The textile printing industry is predicted to see massive growth as more and more fabrics manufactured by DTF will come into the picture. In conclusion, the DTF printing process can be thought of as an effective way to produce fabrics economically.


This Post Has One Comment
Pingback: DTF Printing: The Ultimate Guide for Flawless Printing – Splashjet-lnk