In today’s digital world, our photos often live on screens. While swiping through endless images on your phone is a modern reality, the joy and impact of holding a tangible memory can’t be replicated.
After reading this blog, you will not only be able to print photos like a professional but also be able to start your small photo business from your home. Whether you’re sharing a family vacation or showcasing your work stuff such as a portfolio, creating beautiful physical prints adds a touch of permanence that digital files simply can’t match.
Choosing the Right Printer
When thinking about printing high-quality photos at home, the most important decision is about choosing the best printers for the same. There are different types of printers available in the market, and choosing one among them might sound like a task.
While choosing the right printer, one needs to consider the following aspects:
-
Specifications of the printer:
The high-resolution Inkjet Printers with a multi-ink system and advanced printhead technology are ideal for photo printing. Ensure the printer can handle a variety of paper sizes and has good software support.
-
Print Quality and Resolution:
Look for a printer with high-resolution capabilities, typically measured in dots per inch (dpi). For professional photo printing, a minimum resolution of 300 dpi is recommended.
-
Media Handling:
Check the printer’s capabilities for handling different types and sizes of photo paper. Look for features such as multiple paper trays, borderless printing, and compatibility with various paper textures.
-
Color Accuracy and Gamut:
Ensure the printer has a wide color gamut and can accurately reproduce colors. Look for technologies such as 6-color or 8-color ink systems for vibrant and accurate color reproduction.
-
Ink Type:
Consider the type of ink used by the printer. Dye-based inks are often used for vibrant colors and glossy prints, while pigment-based inks offer better longevity and resistance to fading.
-
Software and Drivers:
Check if the printer comes with software that enhances photo editing and printing capabilities. Also, ensure that drivers are readily available for your operating system.
Here is a list and comparison of the photo printers commonly available on the market:
| Canon G570 | Epson L8050 | Epson L8180 | Epson L130 | Canon G1020 | |
|---|---|---|---|---|---|
| Technology | Inkjet | Inkjet | Inkjet | Inkjet | Inkjet |
| Max. Resolution | 4800 x 1200 dpi | 5760 x 1440 dpi | 5760 x 1440 dpi | 5760 x 1440 dpi | 4800 x 1200 dpi |
| Gamut | 6 Color | 6 Color | 6 Color | 4 Color | 4 Color |
| Ink Type | Dye: C M Y K R GY | Dye: C M Y K LC LM | Dye: C M Y PK GY Pigment: MK | Dye: C M Y K | Dye: C M Y Pigment: K |
Selecting the Right Paper and Ink
Not just the printer, achieving professional photo prints depends on selecting high-quality and suitable paper too. Standard printer paper simply won’t do. It lacks the weight, texture, and coating necessary to produce vibrant colors, crisp details, and long-lasting results.
Here’s a breakdown of the suitable photo paper options, each offering unique characteristics:
-
Glossy:
The classic choice, the glossy paper delivers rich colors, sharp details, and a reflective surface that makes photos “pop”. It is ideal for landscapes, wildlife, and photos with vibrant colors. However, glare can be an issue.
-
Semi-Gloss (Satin):
A balanced medium between matte and glossy, Satin paper offers a subtle sheen that reduces glare while maintaining good color and detail. It’s a versatile choice for most photo types.
-
Matte:
This paper type produces a more subdued, sophisticated look with minimal reflection. It’s perfect for portraits, black-and-white photos, and artistic prints where a focus on texture and detail is desired.
-
Fine Art Papers:
Often made from cotton rags or other archival-quality materials, fine art papers provide a luxurious feel and exceptional longevity. These are ideal for creating gallery-worthy prints with a distinctive textured surface.
While choosing your paper, consider the subject of your photo. Glossy is ideal for showcasing punchy colors, while matte lends a timeless elegance to portraits. Fine art papers convert special photos into vintage and heritage editions.
Along with the paper, the right ink is another utmost important factor. When it comes to ink selection for photo printing, the debate between pigment and dye inks often arises.
For occasional prints, dye-based inks may be sufficient. Known for their vibrant colors and smooth gradients, dye-based inks are commonly used for photo printing.
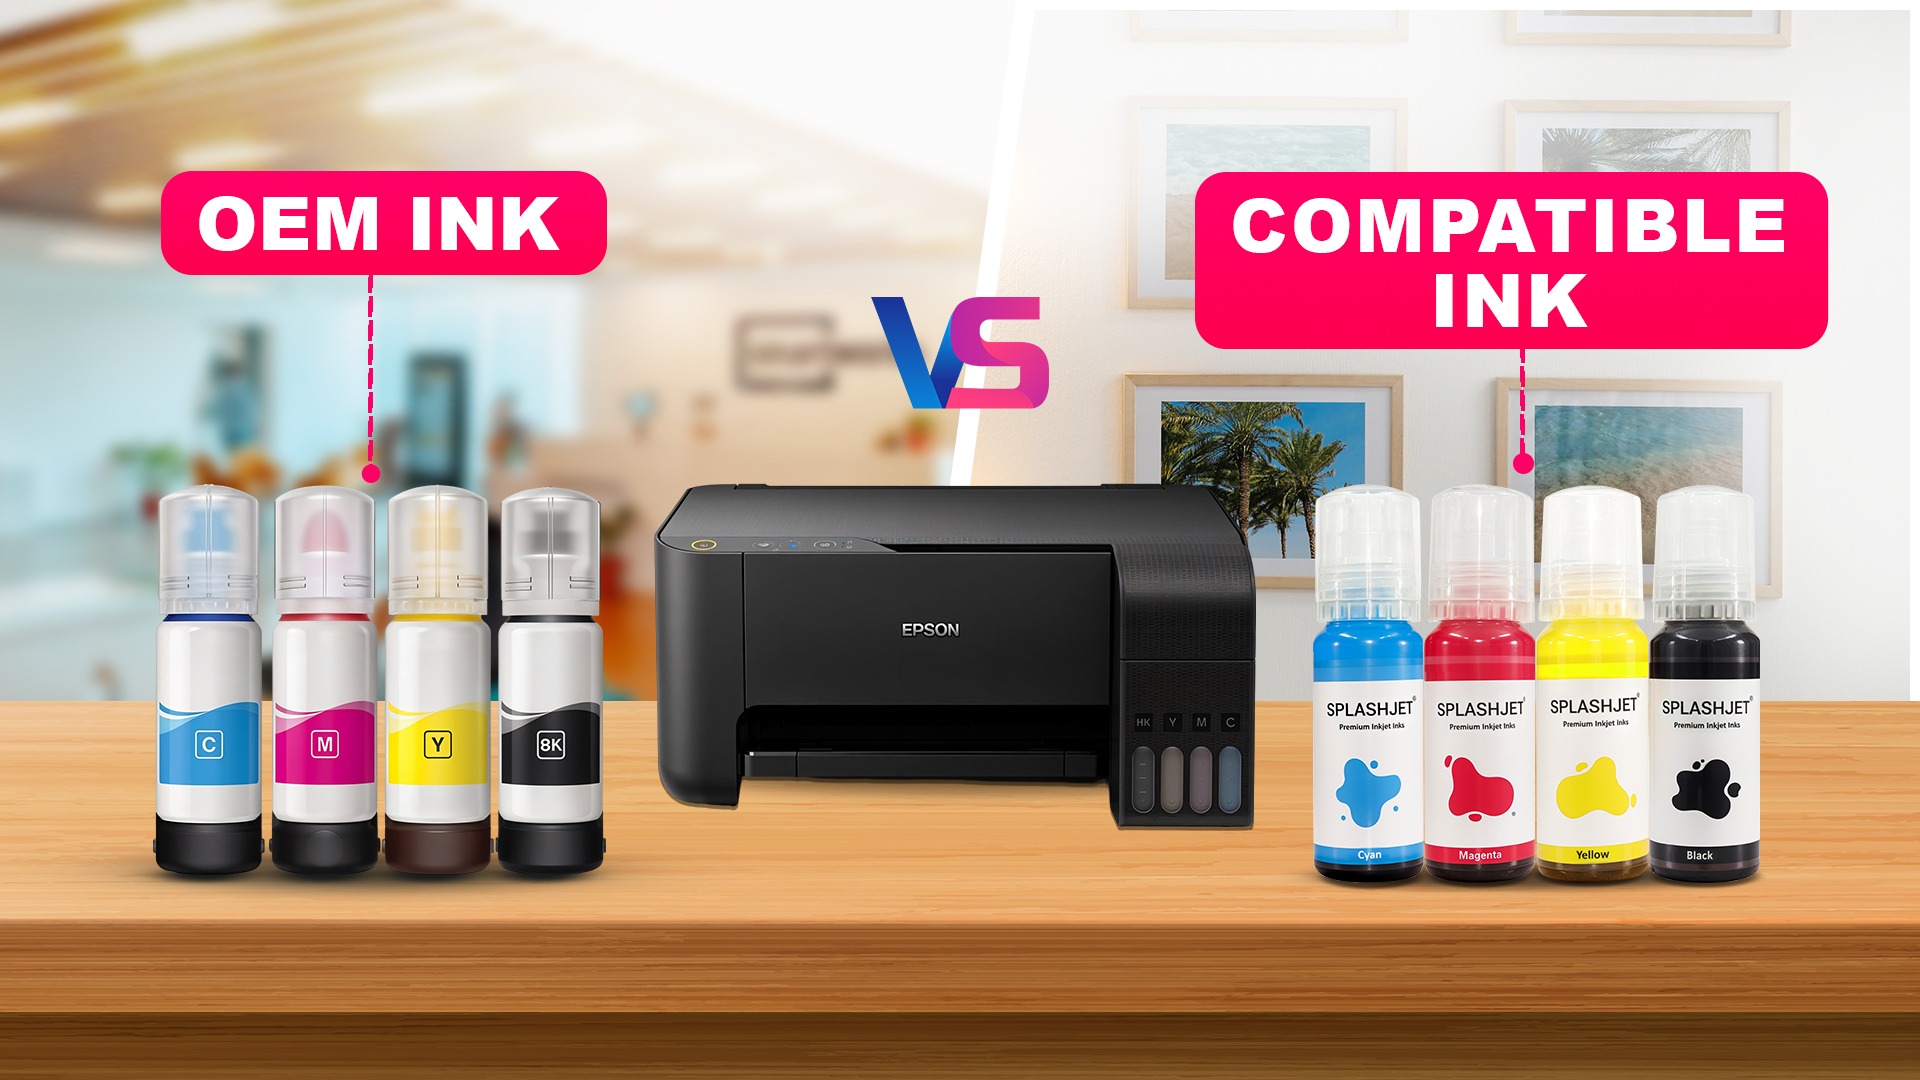
Pigment inks offer superior longevity but they often come at a premium price. However, top-tier materials ensure that your prints stand the test of time and maintain their visual impact for years to come. But if you want premium ink at an affordable cost, consider exploring premium alternatives such as Splashjet’s Compatible Inks, which offers cost savings without compromising quality.
Preparing Your Photos for Printing
Before hitting print, a crucial step lies in preparing your photos. Preparation involves not only selecting the right settings but also editing your photos to enhance their quality and visual appeal.
There are two key aspects to consider: Setting Options and Edit Options.
Setting Options:
-
Resolution:

Ensure your photos have a high enough resolution for your desired print size. Aim for at least 300 dpi (dots per inch) for optimal quality. Lower resolutions can result in pixelation when printed at larger sizes.
-
Color Space:
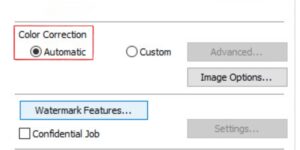
Printers use CMYK color space, while photos are often captured in RGB. If you are using any universal ink in your printer then it is recommended to check your printer settings and adjust the color space for accurate and vibrant color reproduction.
Tip – To achieve accurate print results on your desktop printers, choose Splashjet Inks – Printer Specific Ink for High Volume Low-Cost Printing.
-
Print Size & Paper Type:

Adjust the dimensions of your photos to match the desired print size, and select the appropriate paper type to achieve optimum results from the options including plain paper, high-quality plain paper, photo-quality inkjet, matte, etc.
Edit Options:
-
Basic Adjustments:
Fine-tune the exposure, brightness, contrast and white balance to ensure your photo translates well to print. A well-balanced print will have a full range of tones and vibrant colors.
-
Sharpening:
Slight sharpening can enhance details in your prints, especially after resizing. However, over-sharpening can lead to unwanted distortion. Use a gentle touch and preview the results before printing.
-
Noise Reduction:
If your photo exhibits digital noise (graininess), use noise reduction tools to clean it up. Excessive noise can be distracting in prints.
Printing Your Photos
Follow these step-by-step instructions to ensure stunning results every time:
Step 1: Select Your Printer and Paper
Step 2: Prepare Your Photos
Step 3: Configure Printer
- Open the printing dialog in your photo editing software or operating system and choose the appropriate paper type and size settings to match your selected photo paper.
- Select the highest quality print mode available on your printer for optimal results.
Step 4: Preview and Adjust
- Before printing, preview your photos to ensure they appear as intended on the screen.
- Make any necessary adjustments to color, brightness, or contrast in the printing dialog to fine-tune the final output.
Step 5: Print Your Photos
- Load the selected photo paper into the printer’s paper tray, following the manufacturer’s instructions for proper alignment and orientation.
- Start the printing process and monitor the progress to ensure that the prints are coming out as expected.
- Allow the prints to dry completely before handling or displaying them to prevent smudging or smearing.
Conclusion
From selecting the perfect printer and paper to preparing and printing your photos, each step plays a crucial role in achieving professional-quality photo prints. By investing in high-quality equipment, and following best practices, you can consistently produce professional prints.
